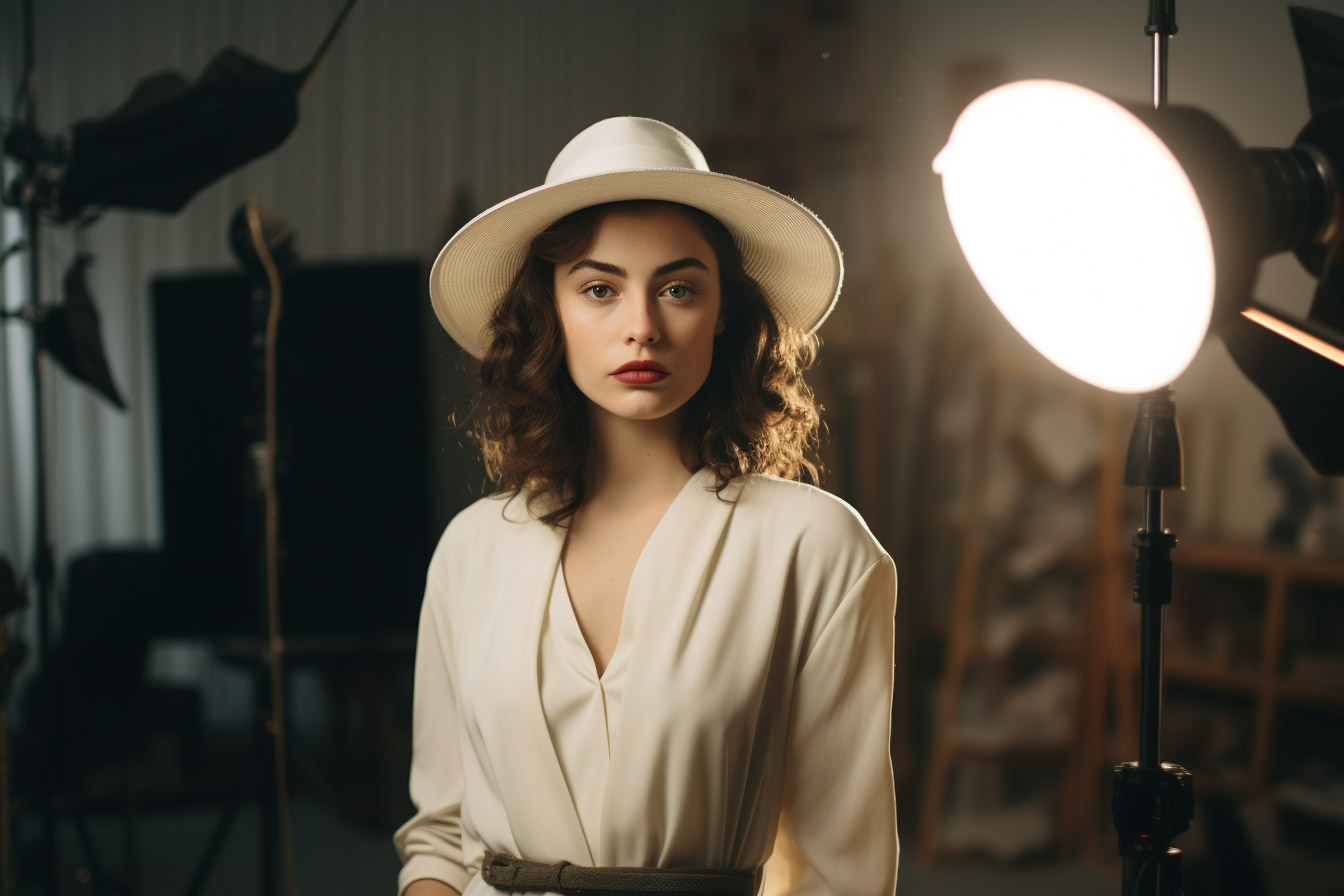
Studio Lighting for Photography: From Basics to Mastery
Lighting is the backbone of studio photography. Whether capturing stills or video, understanding the nuances of photography lighting can elevate your work. Studio lighting is more than just illuminating a subject; it's a nuanced art form that defines mood, emotion, and depth. By mastering the difference between hard light and soft light and knowing how to effectively utilize studio lights, you can transform your photos from ordinary to extraordinary.

Understanding Hard Light vs Soft Light in Studio Photography:
Hard Light: Produced when a photography light source is small or located far from the subject, it casts sharp, defined shadows. Such lighting can emphasize texture and detail but might also amplify imperfections.
- Examples: Direct sunlight, a spotlight, or an undiffused flash.
- Application: Suitable for dramatic scenes or when a pronounced play of shadows and highlights is desired, be it in portraits or architectural shots.
Soft Light: Occurs when the photo light source is large or diffused. It casts softer shadows with gradual transitions between light and dark areas.
- Examples: An overcast day, light passing through a diffuser, or light bounced off a reflective surface.
- Application: Perfect for portraits or scenarios where a gentle and flattering light is desired.
For a more in-depth looking into hard vs soft light, check out this article: Understanding Hard Light vs Soft Light in Photography.
Essential Studio Tools and Modifiers:
Harnessing the power of modifiers to control the quality of light is a cornerstone of professional studio photography:
Softboxes: Central to any photography lighting kit, softboxes spread out light, creating soft, even illumination. They're widely used in studio photography for product shots and portraits.
Reflectors: These bounce or redirect light towards a desired area. By adjusting their angle and distance, photographers can control the light's intensity and direction.
Umbrellas: Essential in a photography lighting kit, umbrellas diffuse light, making it broader and less directional—ideal for group shots or individual portraits.
Grids and Snoots: These focus light into a tighter beam, creating a spotlight effect. Useful for highlighting specific areas of an image.
Foundational Studio Lighting Setups:
The configuration of studio lights can significantly impact the mood and story you wish to convey:
One-Light Setups:
Using a single light source can be both powerful and versatile. The position and modification of this one light can drastically alter the mood and drama of your photograph. Remember, you can make the light source hard or soft depending on how you choose to modify it. If you don't own a light yet, the Godox AD400 Pro is a versatile, portable 400w strobe great for amateurs and pro alike.
Front Lighting:
- Positioning the Light: Directly in front of the subject.
- Height and Angle: At eye level or slightly above, angled slightly downwards.
- Effect: Minimizes shadows on the face.
- Why Use This Setup: Highlights the front details of the subject and reduces facial imperfections.
- Application Tips: Ideal for basic portraits or when a neutral representation is desired.
- Visual Description: Even lighting on the face with shadows falling behind the subject.
Side Lighting:
- Positioning the Light: To the side of the subject.
- Height and Angle: Slightly above the subject's eye level, angled downwards.
- Effect: One side of the face illuminated, the other in shadow.
- Why Use This Setup: Adds depth and dimension to the face.
- Application Tips: Perfect for dramatic portraits.
- Visual Description: One side of the subject's face well-lit, the other half in shadow.
Back Lighting:
- Positioning the Light: Behind the subject, pointing towards the camera.
- Height and Angle: At or slightly above the subject's head height.
- Effect: Silhouettes the subject.
- Why Use This Setup: Highlights the subject's outline or to create mood.
- Application Tips: Manage exposure to avoid washouts.
- Visual Description: Subject in shadow with a glowing outline.
Advanced Lighting Setups:
Three-Point Lighting:
- Key Light: Your primary light source. The Godox AD1200Pro is a great studio or location key light.
- Fill Light: Eliminates or softens shadows created by the key light.
- Back Light: Provides depth and separation from the background.
- Application: A versatile setup for both portrait photography and product shots.
Butterfly Lighting:
- Key Light: Positioned directly in front of the subject and slightly above.
- Fill Light: Softens shadows created by the key light.
- Application: Ideal for defining cheekbones and jawlines.
Rembrandt Lighting:
- Key Light: Positioned to the side and slightly higher than the subject.
- Fill Light: Minimally used to maintain the characteristic triangle of light on the cheek.
- Application: Adds drama and depth to portraits.
Harnessing the power of studio lights, from basic photo lights to comprehensive lighting kits, is essential for professional-quality results. Whether you're a beginner venturing into studio photography or a seasoned professional, understanding these foundational and advanced techniques can profoundly influence your work. The right video lighting or photo lighting setup can distinguish your work in the ever-evolving world of photography.