Guide to Setting Up Lighting for a One-Light Portrait Photo Shoot
Paramount, short-loop, long-loop, Rembrandt, short-side, and broad lighting techniques can dramatically elevate your portrait photography using just one flash or strobe. Understanding the distinction between hard and soft lighting, as well as how the size of your light source affects lighting quality, is key to mastering portrait lighting.
Understanding Hard and Soft Lighting
The quality of your light source—whether hard or soft—dramatically impacts the mood and feel of your portrait.
Hard Light
Characteristics
Produces sharp, clearly defined shadows.
Enhances texture and creates dramatic contrasts.
Adds intensity to your portraits.
How to Set Up Hard Light
Use smaller or unmodified lights, such as bare flash bulbs or small reflectors.
Increase distance between the subject and the light.
The smaller the point of the light source, the harder the light.
Applications
Dramatic, fashion, editorial, and artistic portraits.
Soft Light
Characteristics
Generates smooth, gradual shadows.
Minimizes skin imperfections, creating flattering portraits.
Provides gentle mood and appearance.
How to Set Up Soft Light
Use larger modifiers such as softboxes, umbrellas, or diffusers.
Position the light close to your subject.
The larger and closer your light source, the softer the shadows become.
Applications
Beauty, headshots, children, and gentle mood portraits.
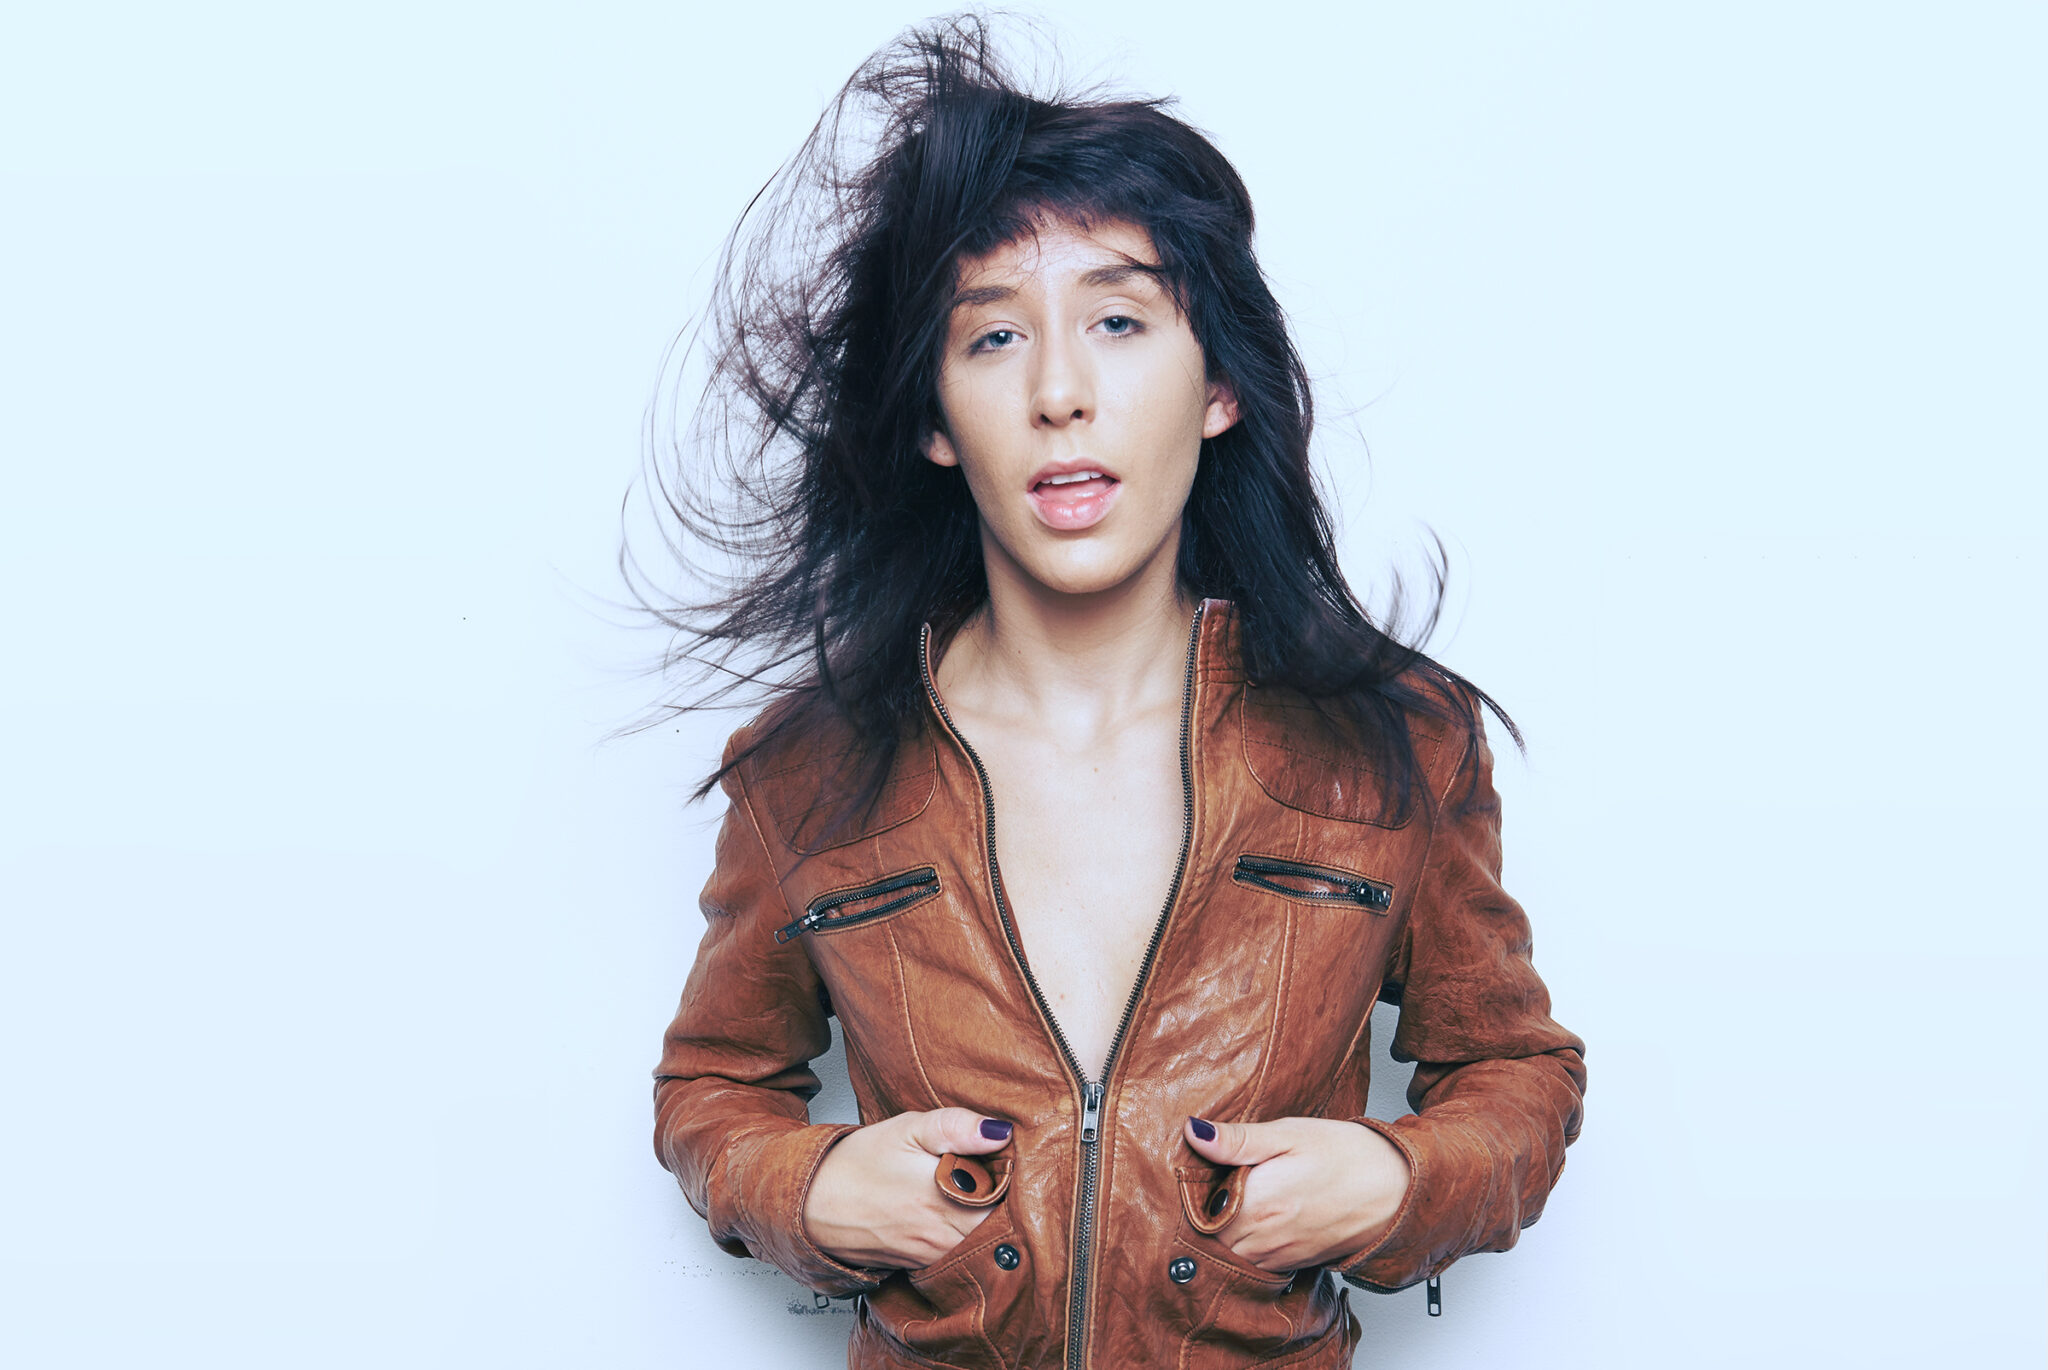
Hard light - notice the defined shadow from her nose
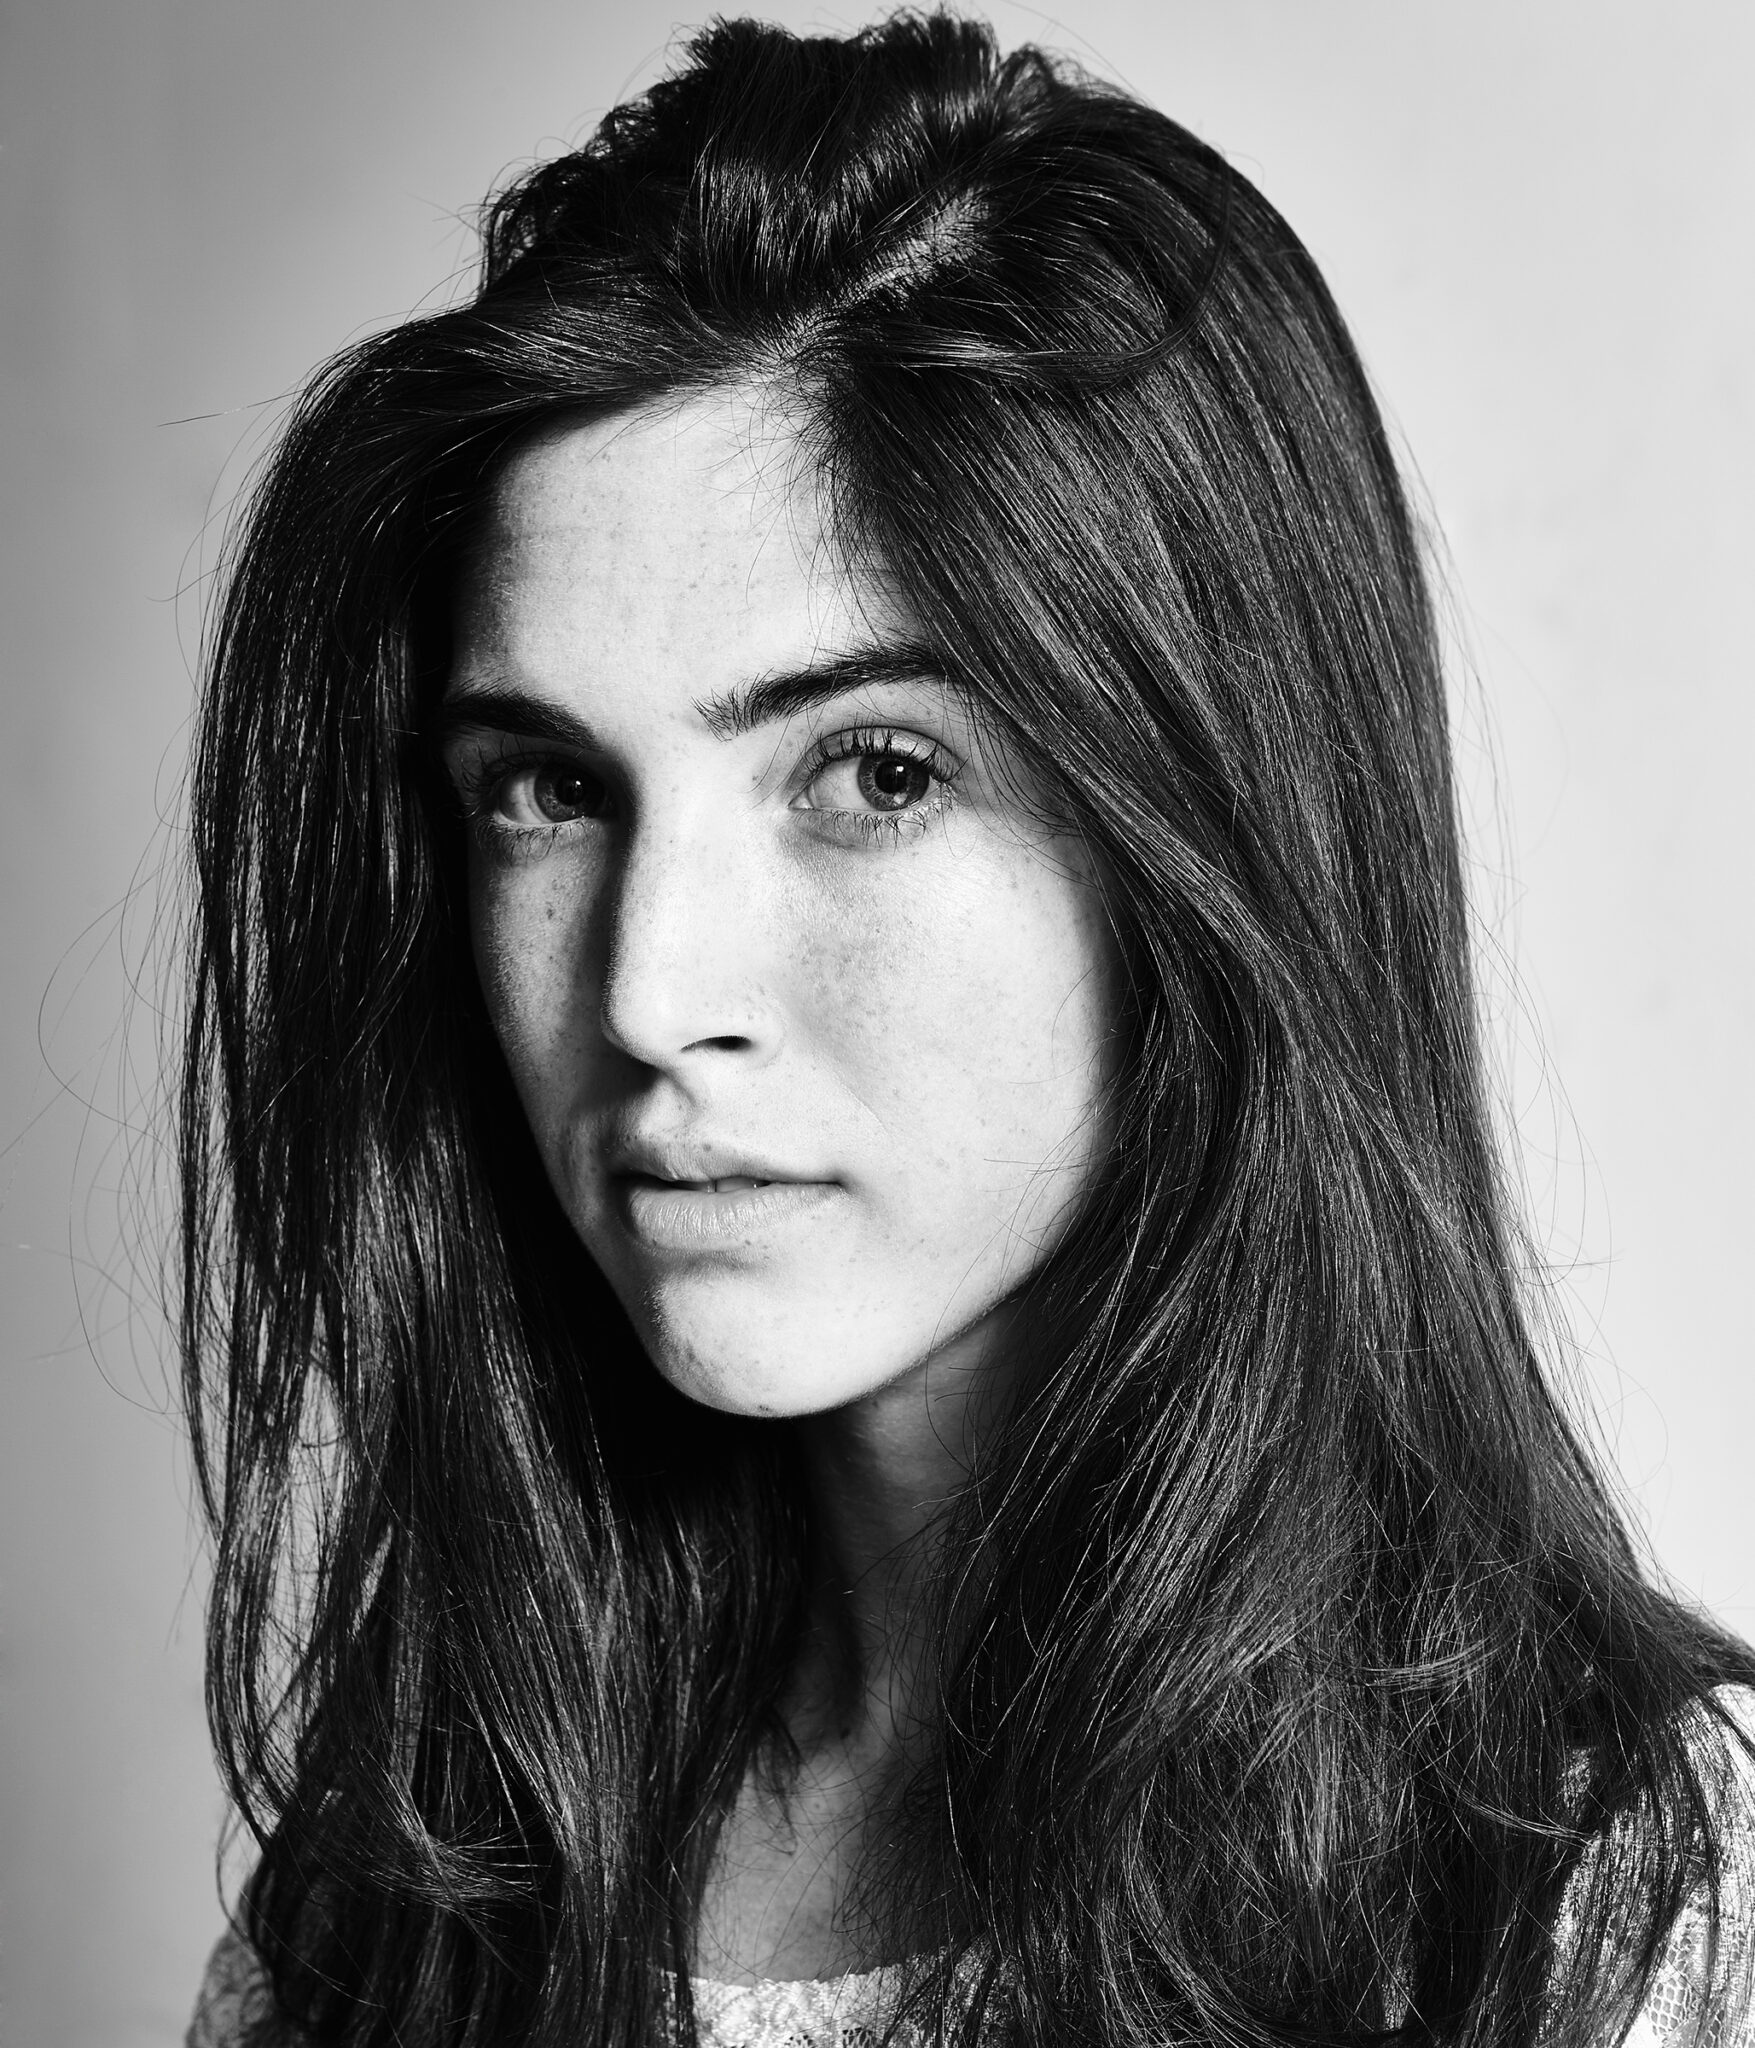
Soft light - notice the delicate gradient shadow under her chin
Understanding Catch Lights
Catch lights are reflections of the primary light source seen in the subject’s eyes, adding life and sparkle to portraits. The position, size, and intensity of your light affect the catch light's appearance and shape. Importantly, catch lights can help you determine how the lighting was set up by observing their placement in the subject's eyes.
Characteristics
Adds depth and life to the eyes.
Shape and size depend on the light modifier.
Reveals the position and type of lighting setup used.
How to Create Effective Catch Lights
Ensure your subject’s eyes face towards the light source.
The closer the light, the larger and softer the catch light.
Adjust the position to change the catch light’s placement in the eyes.
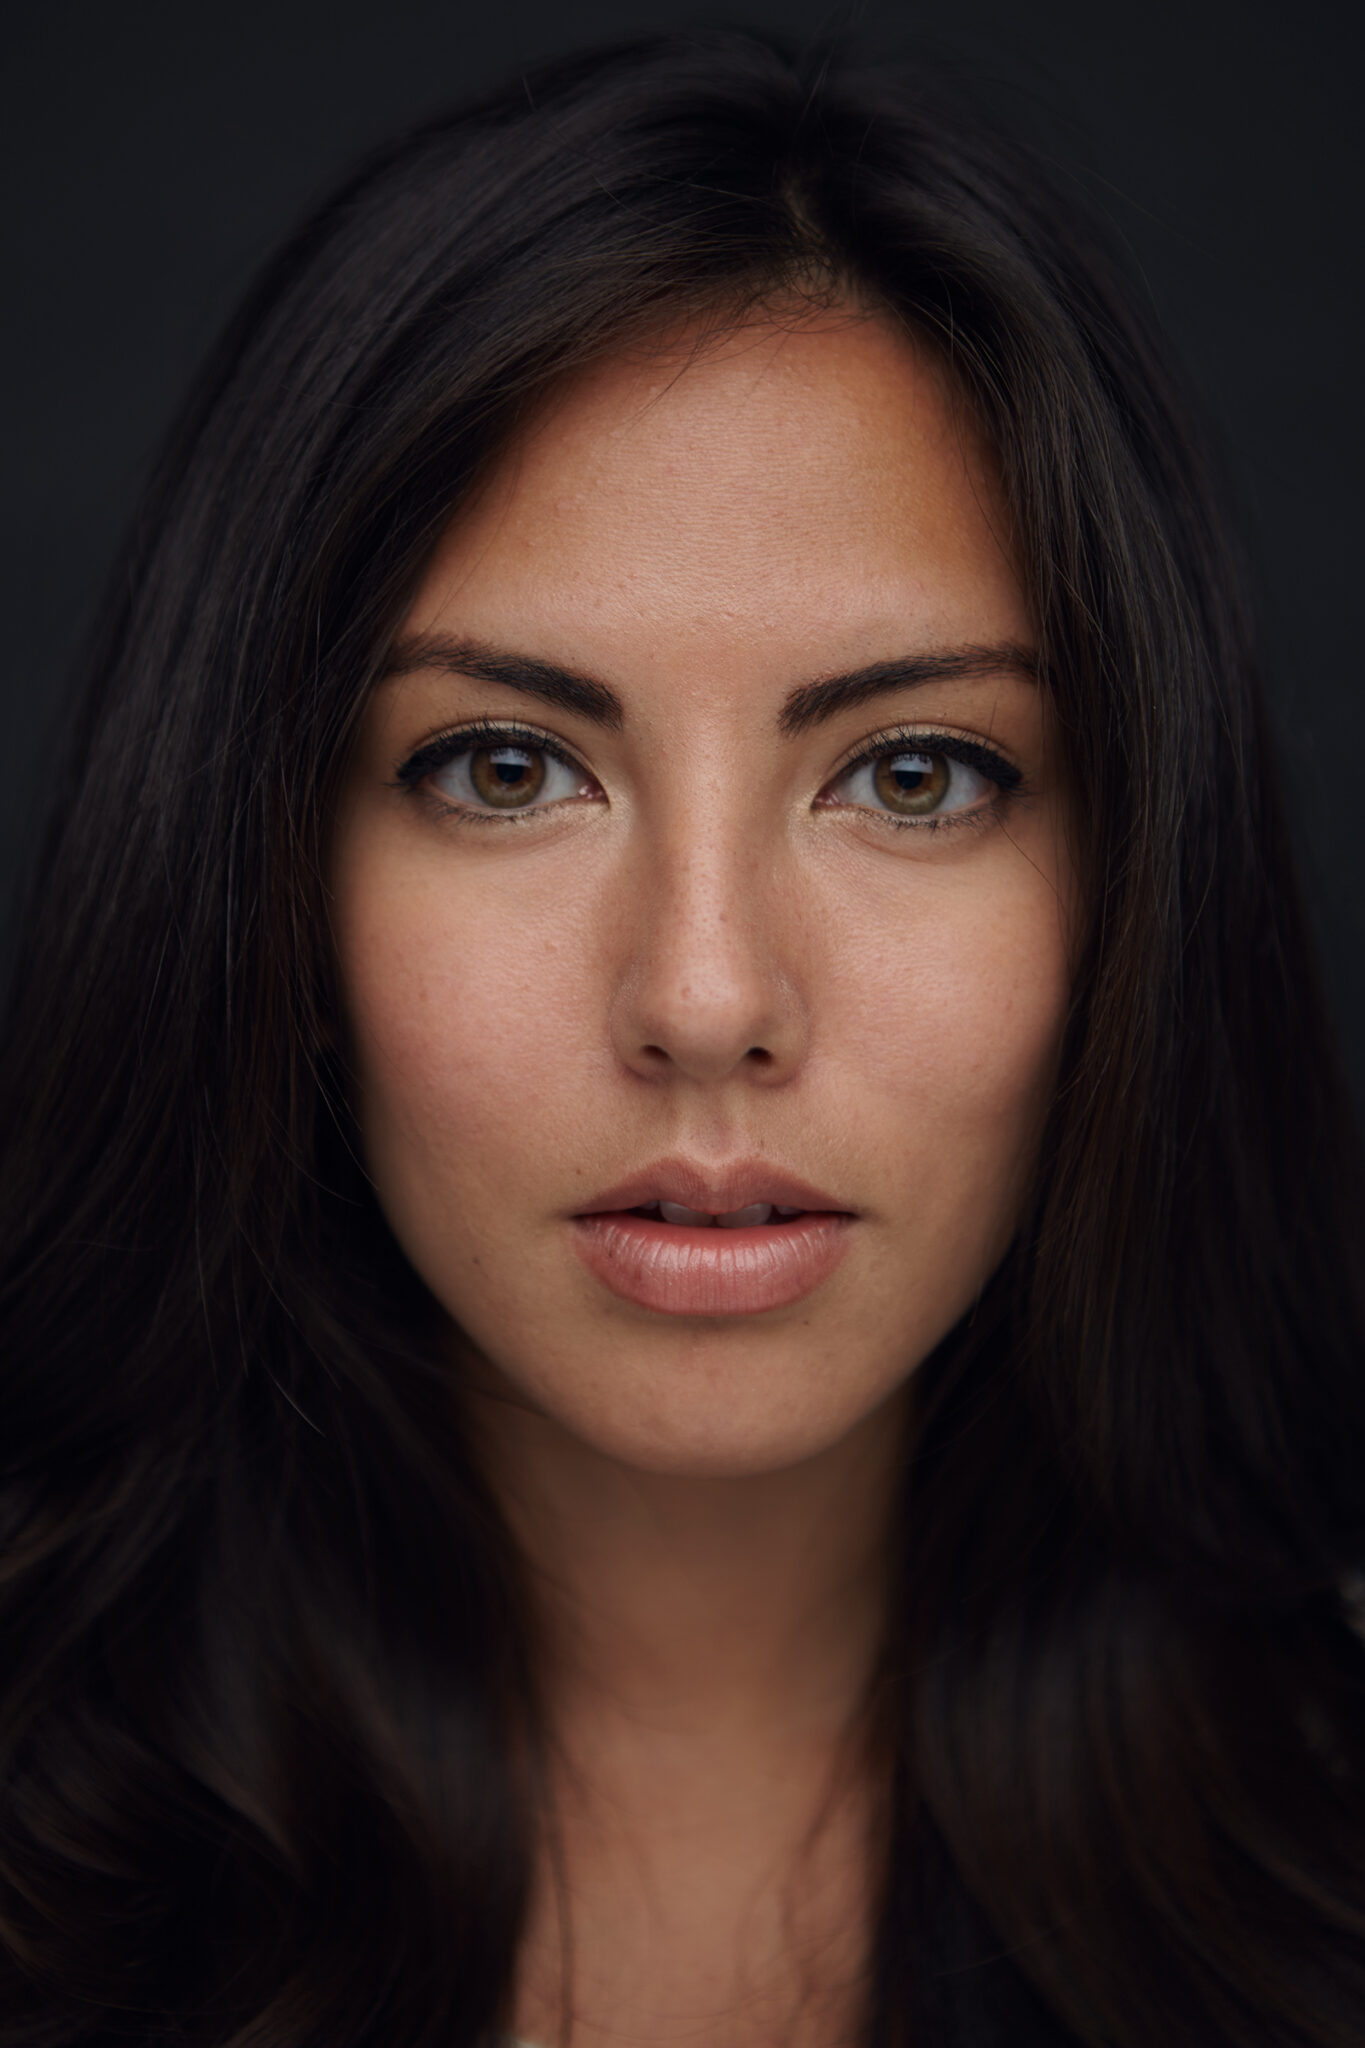
Paramount / Hard light
Paramount / Soft light
Paramount Lighting (Butterfly Lighting)
Characteristics
Symmetrical lighting with a butterfly-shaped shadow beneath the nose.
Highlights facial symmetry and cheekbones.
Glamorous, classic look.
Setup
Position your light directly in front and slightly above your subject.
Angle downward at about a 45-degree angle.
Catch Light
Typically appears directly above the pupils, giving a balanced, appealing sparkle.
Lighting Recommendations
Soft: Elegant, flattering beauty portraits.
Hard: Intense, glamorous effect with stronger contrasts.
Short-Loop Lighting

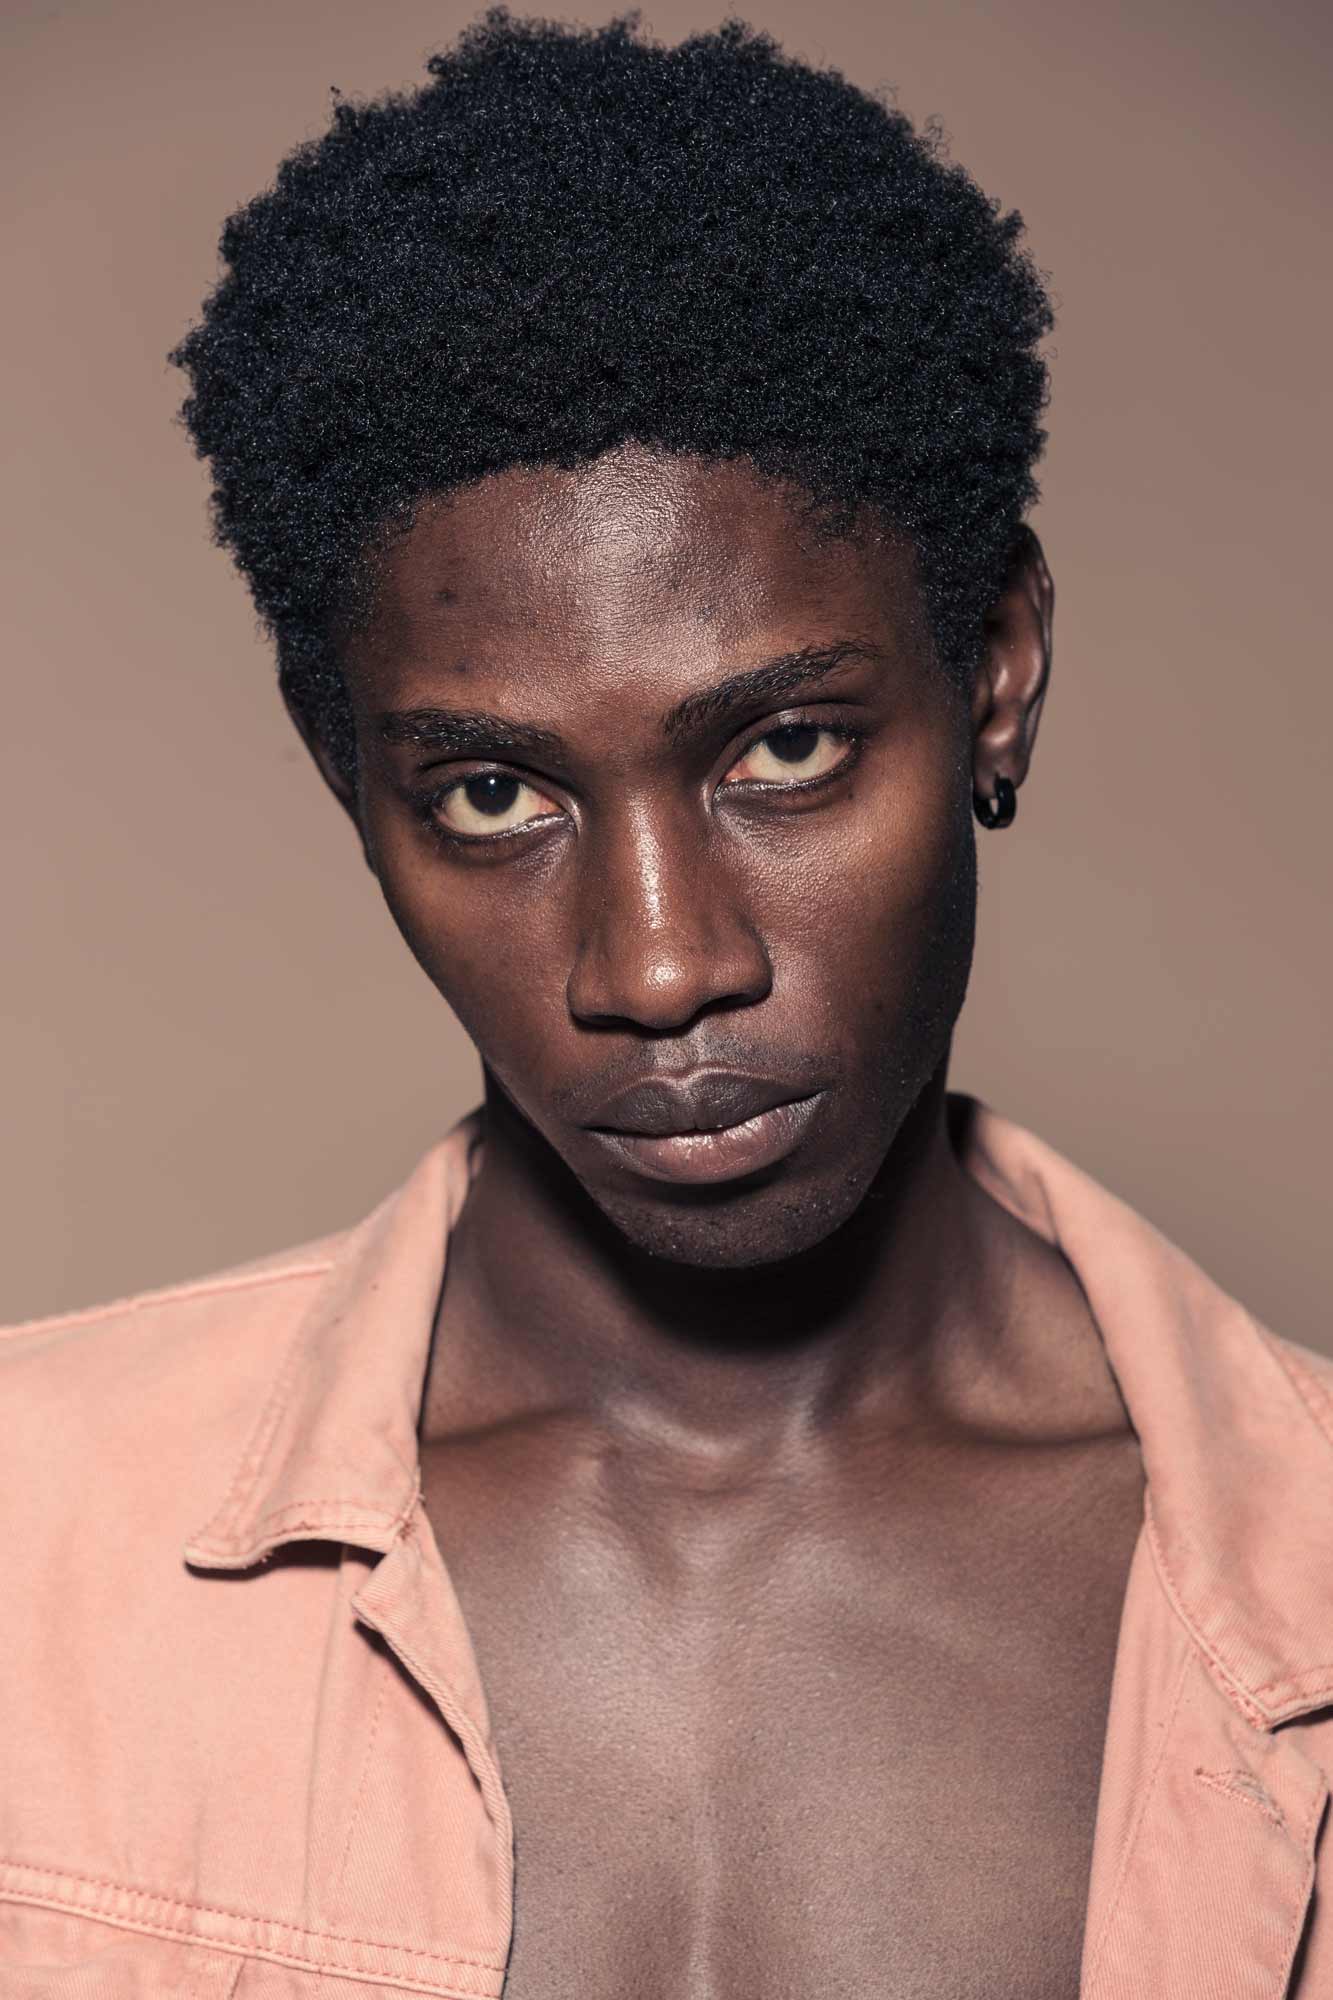
Short-loop / hard light
Characteristics
Produces a subtle, looping shadow beside the nose.
Provides natural and soft enhancement to facial structure.
Setup
Place your light slightly above and 30 degrees to one side.
Adjust to create a subtle loop shadow.
Catch Light
Look for a catch light slightly off-center in the upper corner of the eyes, providing a natural, engaging look.
Lighting Recommendations
Soft: Natural, flattering, ideal for headshots.
Hard: Emphasizes facial structure dramatically for artistic portraits.
Long-Loop Lighting
Characteristics
Creates longer, more pronounced shadows.
Adds dimension and drama.
Setup
Position your light approximately 45 degrees from the subject and slightly above.
Adjust to elongate shadows away from the nose towards the cheek.
Catch Light
Appears off to one side, creating a dynamic and engaging effect.
Lighting Recommendations
Soft: Gentle depth suitable for portraiture.
Hard: Highlights facial structure dramatically for expressive portraits.
Rembrandt Lighting
Characteristics
Distinct triangular highlight on the opposite cheek.
Creates strong shadows, depth, and texture.
Setup
Place your light about 45 degrees to one side and slightly above.
Adjust until the shadow from the nose connects with cheek shadow, forming a triangle.
Catch Light
Positioned high and off-center, enhancing the dramatic effect.
Short-Side Lighting
Characteristics
Illuminates the narrower side of the face.
Creates dramatic and slimming effects.
Setup
Place the light on the side of the face turned away from the camera.
Position just above eye level.
Catch Light
Small, positioned towards the side of the eye furthest from the camera.

Broad Lighting
Characteristics
Illuminates the broader side of the face visible to the camera.
Creates fuller facial appearance.
Setup
Place your light source on the same side as the face turned towards the camera.
Elevate slightly above eye level.
Catch Light
Appears on the broader side of the eye closest to the camera, making eyes appear lively and approachable.
Enjoy this content? Your support helps Jeff create more!
Top 10 FAQs About One-Light Portrait Photography
What is the easiest lighting setup for beginners? Paramount lighting due to simplicity and flattering results.
Ideal lighting for dramatic portraits? Rembrandt or hard lighting setups.
How to achieve soft lighting? Use large modifiers close to your subject.
What defines hard lighting? Small, undiffused sources create sharp shadows.
Can hard lighting work for headshots? Typically best for artistic, dramatic portraits rather than traditional headshots.
Does the size of the light source affect shadow quality? Yes, smaller sources produce harder shadows, larger sources produce softer shadows.
Ideal lighting setup for slimming facial features? Short-side lighting.
How to soften shadows further? Move your light closer or use larger diffusion modifiers.
Who benefits most from broad lighting? People with narrower faces.
Essential gear for one-light setups? Flash or strobe, stands, modifiers, reflectors.
Buy Some Art
Join Our Exclusive Mailing List for Insider Access to Exciting Updates and Valuable Resources Delivered Directly to Your Inbox