Portrait Lighting: A Guide to Butterfly Lighting
Mastering portrait lighting can dramatically enhance your photography, turning simple portraits into stunning works of art. Among the most iconic lighting techniques is Butterfly Lighting, also known as Paramount Lighting. Renowned for its classic Hollywood glamour aesthetic, this method beautifully accentuates cheekbones and creates elegant shadows.
This comprehensive guide will cover fundamental techniques, essential equipment, step-by-step instructions, suggested use cases, expectations for results, essential tips for success, and common pitfalls to avoid.
Understanding Butterfly (Paramount) Lighting
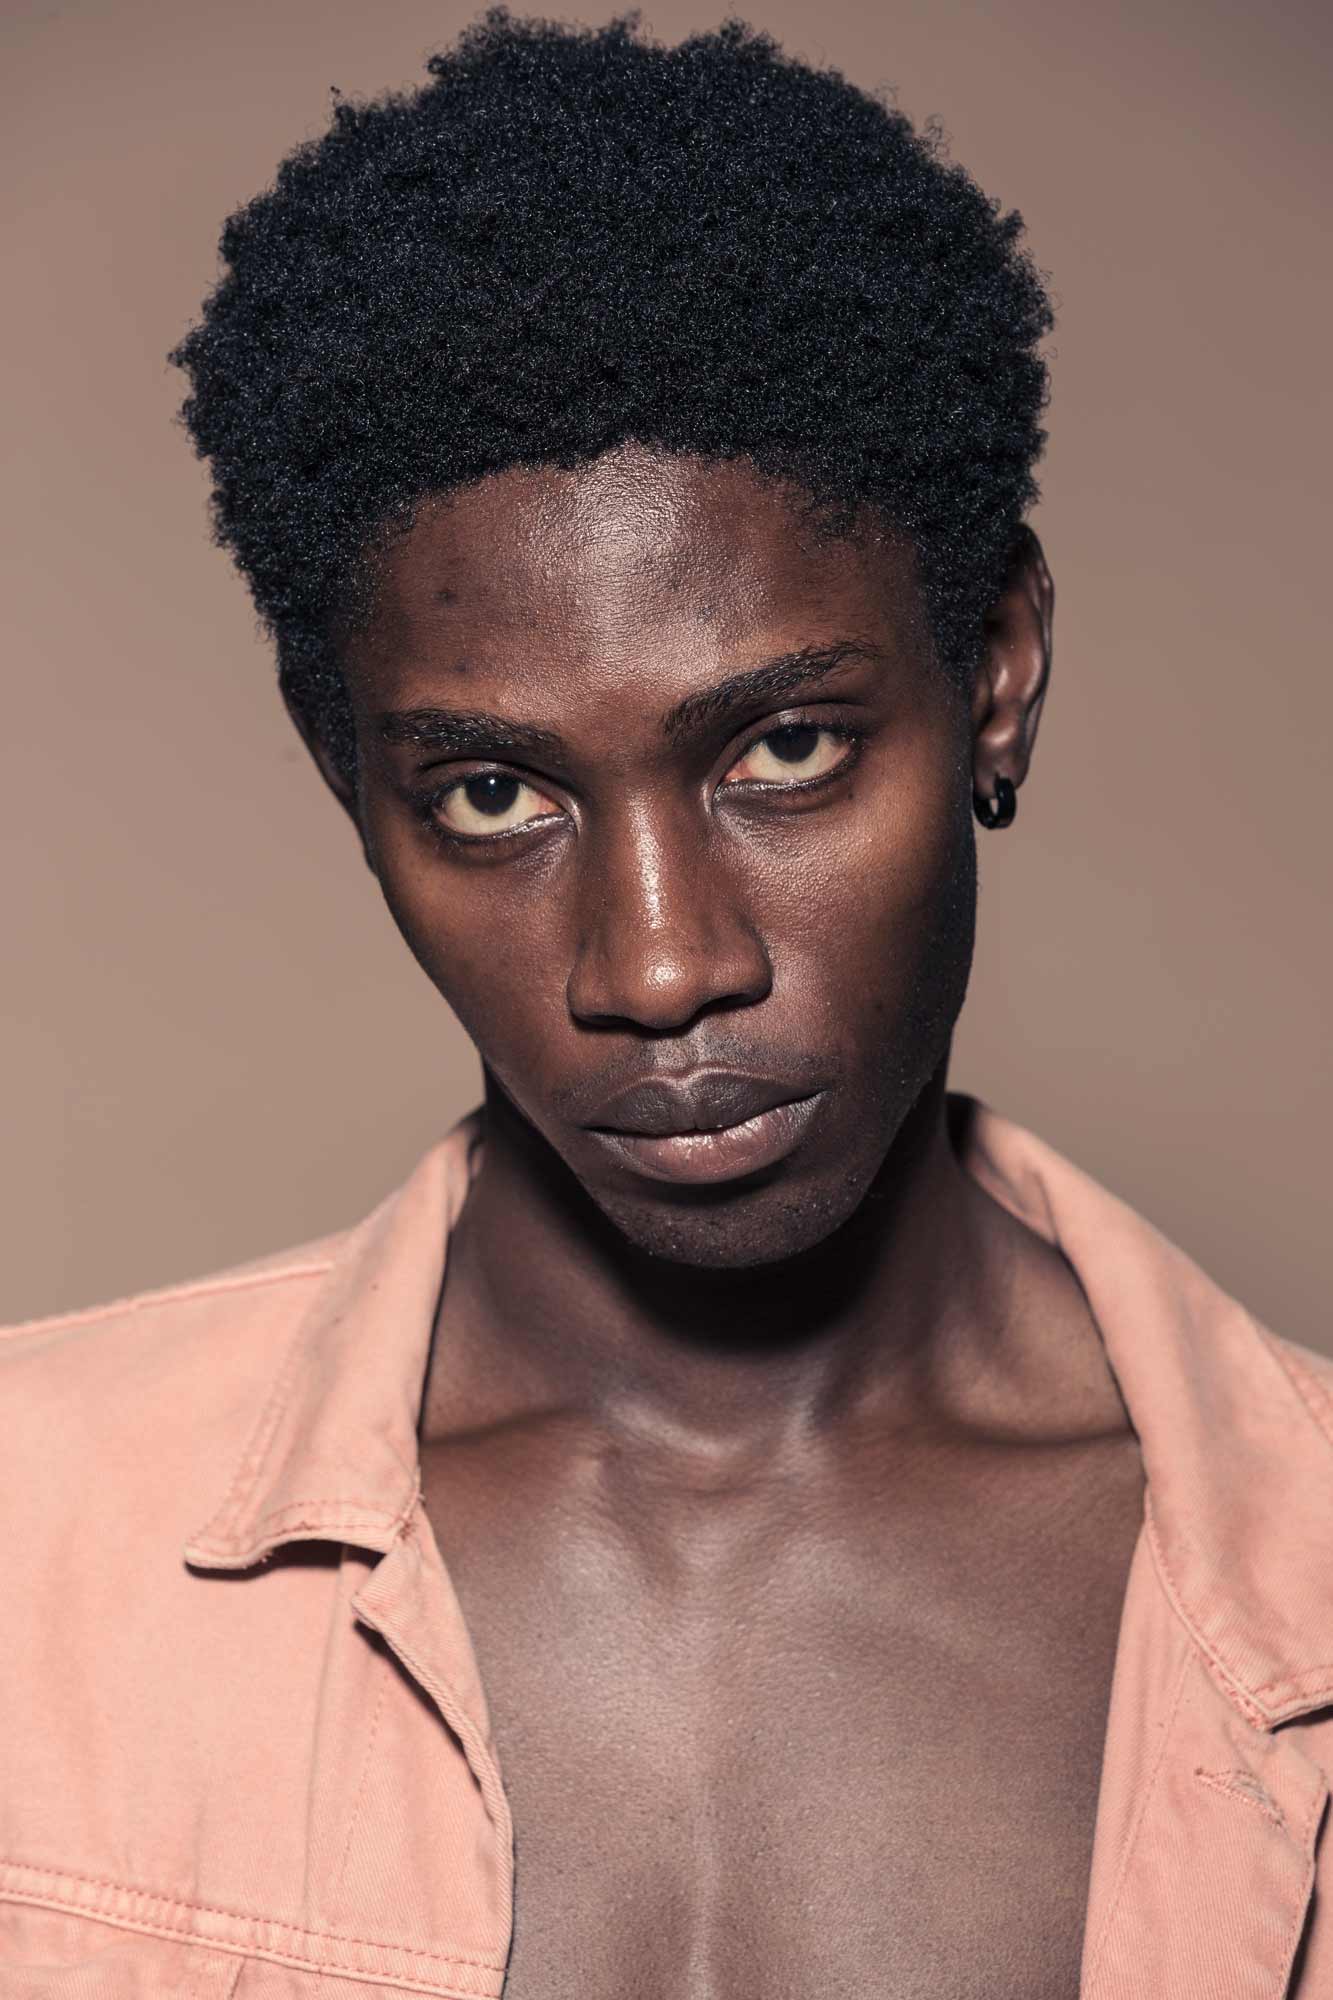
Butterfly lighting is distinguished by the symmetrical, butterfly-shaped shadow it creates beneath the subject’s nose. This technique enhances facial symmetry and highlights prominent cheekbones, making it particularly popular in beauty photography and glamour shots.
Why Choose Butterfly Lighting?
Creates dramatic, symmetrical highlights
Ideal for beauty portraits
Minimizes facial imperfections
When to Use Butterfly Lighting
Professional headshots
Glamour and beauty photography
Vintage or Hollywood-inspired portraits
The Expected Look and Feel
Strong, defined facial features
Elegant, polished appearance
Soft shadows and even lighting
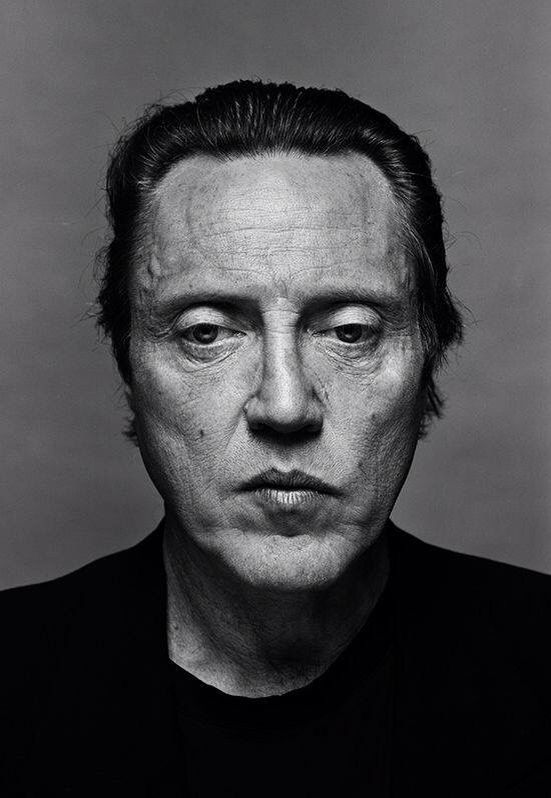
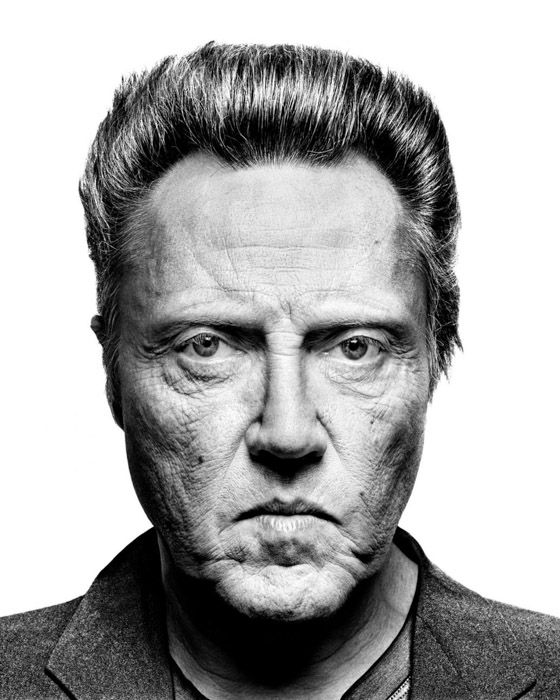
Portraits of Christopher Walken using butterfly lighting
How to Achieve Butterfly Lighting: Step-by-Step
Step 1: Choose Your Lighting Setup
Start by selecting a professional-quality portrait lighting kit. For optimal results, consider using the Profoto Pro-B3 Single Kit Bundle with OCF Zoom Reflector, renowned for its precise control and outstanding color consistency.
Step 2: Position Your Main Light
Place the primary portrait light directly in front of your subject, slightly above and angled downward at approximately 25-45 degrees. The goal is to create the distinct shadow beneath the nose while evenly illuminating the forehead and cheeks.
Step 2: Use Reflectors to Soften Shadows
Add a reflector under the subject's chin to bounce light upward, filling harsh shadows and creating a more flattering look. Consider using a continuous lighting source, like the Profoto Continuous Light, for better visibility while adjusting your setup.
Step 3: Measure Light with Precision
Use a reliable light meter, such as the Sekonic L-308X-U, to accurately measure and adjust your lighting. Proper metering is essential for achieving consistent, professional results.
Step 3: Adjust and Test
Adjust your key light and reflector to achieve the perfect butterfly shadow. Test multiple angles and distances to fine-tune the effect to your liking.
Step 4: Capture the Image
Set your camera for the correct exposure, typically at lower ISO settings to retain image quality, and begin capturing your beautifully lit portraits.
Step 5: Post-Processing for Perfection
In post-processing, subtly enhance highlights and shadows to emphasize the classic butterfly look without losing natural skin textures.
Common Mistakes to Avoid with Butterfly Lighting
Incorrect positioning: Too high or too low placement can distort the butterfly shadow.
Overexposed highlights: Always use a reliable Sekonic L-478D-U Lightmeter to manage exposure accurately.
Neglecting reflectors: Neglecting to use reflectors can lead to overly harsh shadows.
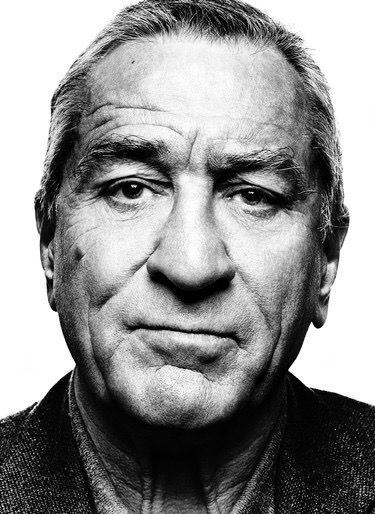
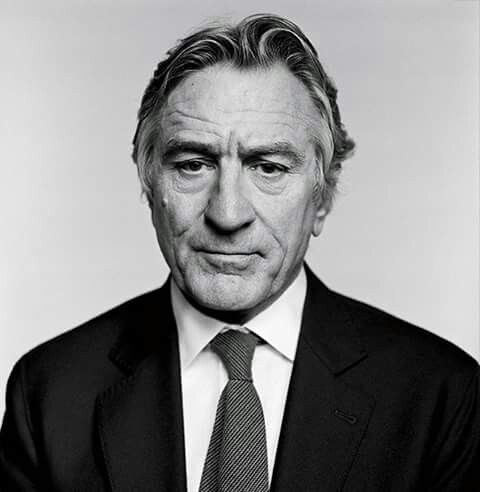
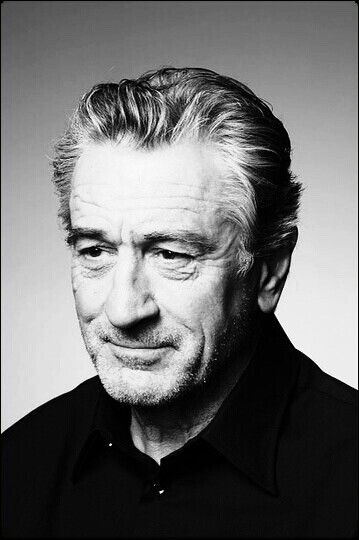
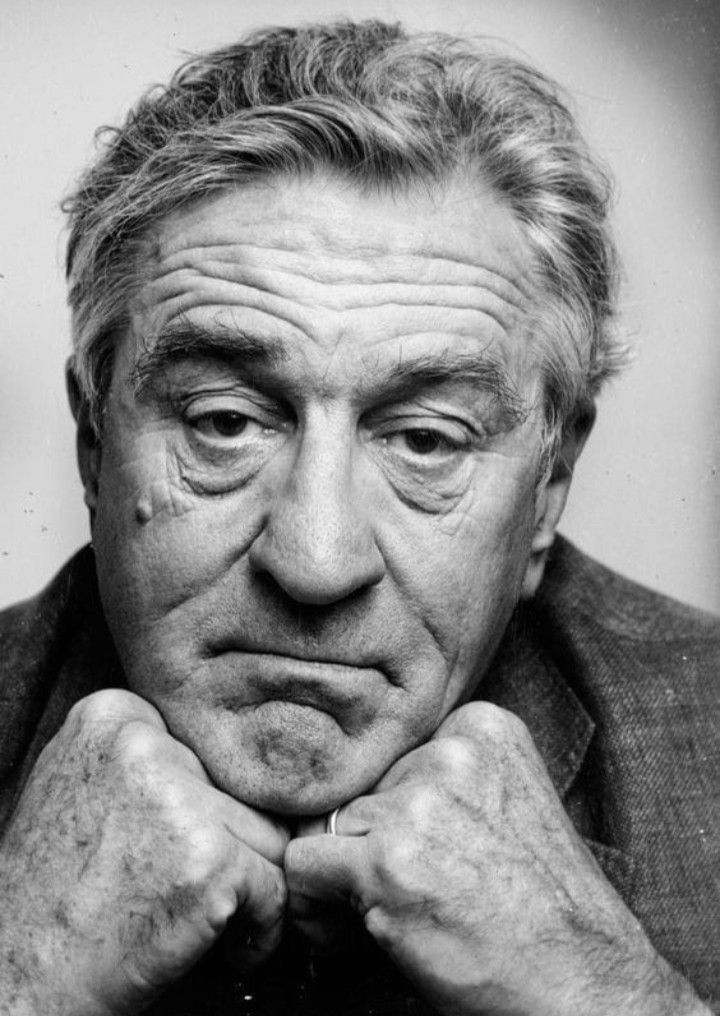
Portraits of Robert De Niro using butterfly lighting
Exploring Creative Variations with Butterfly Lighting
Hard vs. Soft Lighting
Experiment with harder and softer lights. For a hard, dramatic look, use a powerful strobe like the Godox AD1200Pro TTL Power. For a softer approach, try using a diffusion panel with your continuous light.
Natural vs. Studio Light
Natural butterfly lighting can be achieved by placing your subject directly in front of a window. However, studio setups provide better consistency. A dedicated kit such as the Profoto Pro-B3 Single Kit ensures precise control.
Light Color Temperature
Aim for a neutral to warm color temperature (around 5000-5600K) for natural skin tones. Adjusting color temperature is easy with professional kits like the Profoto B3 Bundle.
Recommended Equipment for Successful Butterfly Lighting
Professional lighting kit (Profoto Pro-B3 Bundle)
Reflectors for shadow control
Reliable light meter (Sekonic L-478D-U)
Common Mistakes to Watch Out For
Misalignment leading to uneven shadows
Lack of reflector resulting in harsh shadows
Poor exposure control, leading to lost detail
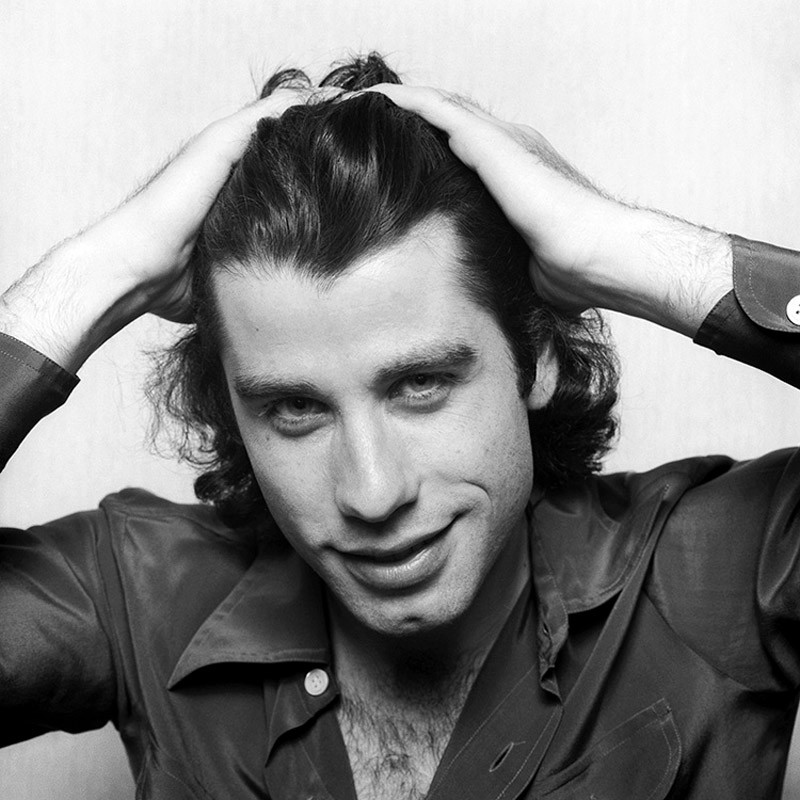
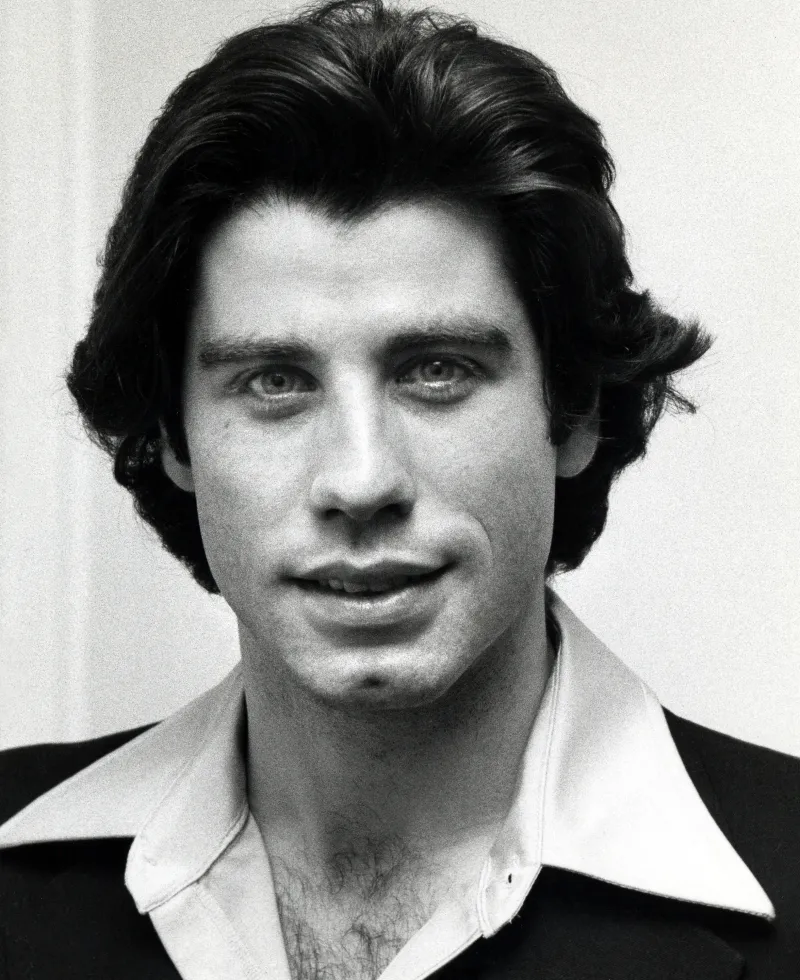
Portraits of John Travolta using butterfly lighting
Enjoy this content? Your support helps Jeff create more!
Final Thoughts: Mastering Butterfly Lighting
By carefully setting up your lights, precisely measuring your exposure, and understanding how to manipulate shadows, butterfly lighting can significantly elevate the quality of your portraits. Invest in quality gear like the Profoto Lighting Kit and a trustworthy light meter such as the Sekonic L-478D-U to ensure professional-level results every time.
Top Ten FAQs about Butterfly Lighting
What is butterfly lighting used for? Butterfly lighting is primarily used for beauty, fashion, and glamour portraits.
How high should the butterfly lighting be placed? Position your key light slightly above the subject’s eye level, angling downward.
Can butterfly lighting be done with natural light? Yes, natural light can mimic butterfly lighting if the subject faces directly towards a strong, overhead source like sunlight.
Which reflector is best for butterfly lighting? A white or silver reflector positioned under the chin works best.
Why is it called Paramount lighting? Named after Paramount Pictures due to its popularity in classic Hollywood portraits.
What is the best camera setting for butterfly lighting? Use a wide aperture for shallow depth of field and ISO settings low for minimal noise.
Can butterfly lighting work for men’s portraits? Yes, it can be effective in highlighting strong facial features and creating a sophisticated look.
Is a light meter necessary for butterfly lighting? A reliable light meter ensures consistent, accurate exposure.
Can you achieve butterfly lighting with natural light? Yes, by positioning your subject facing a window or light source slightly above.
What are the common mistakes in butterfly lighting? Incorrect angle and lack of a reflector leading to harsh shadows.
[Bonus] Do I need expensive equipment for butterfly lighting? Professional gear improves quality, but basic kits can still deliver excellent results.
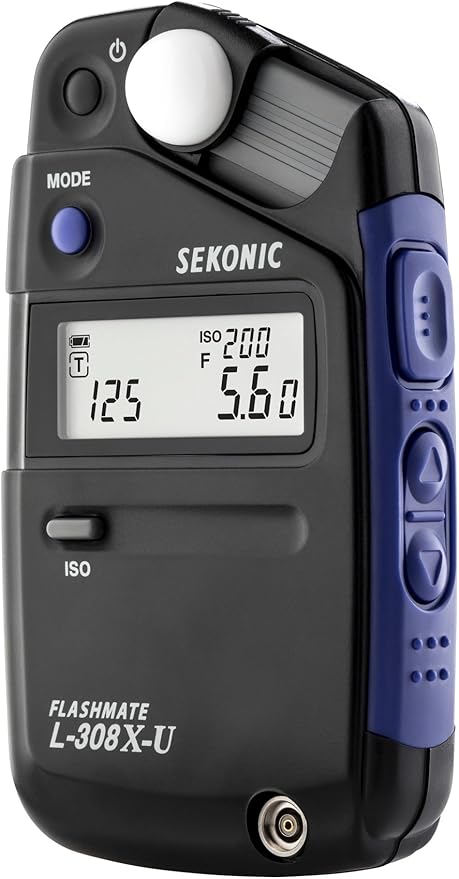
Support This Website When You Buy a Sekonic L-308X-U Flashmate Light Meter on Amazon